تمارا متاحة الآن في قيود ![]() اشترك في الباقات السنوية وقسّطها عبر أربع دفعات!
اشترك في الباقات السنوية وقسّطها عبر أربع دفعات!
- منتجات قيود
- برنامج قيود المحاسبي

برنامج قيود المحاسبي
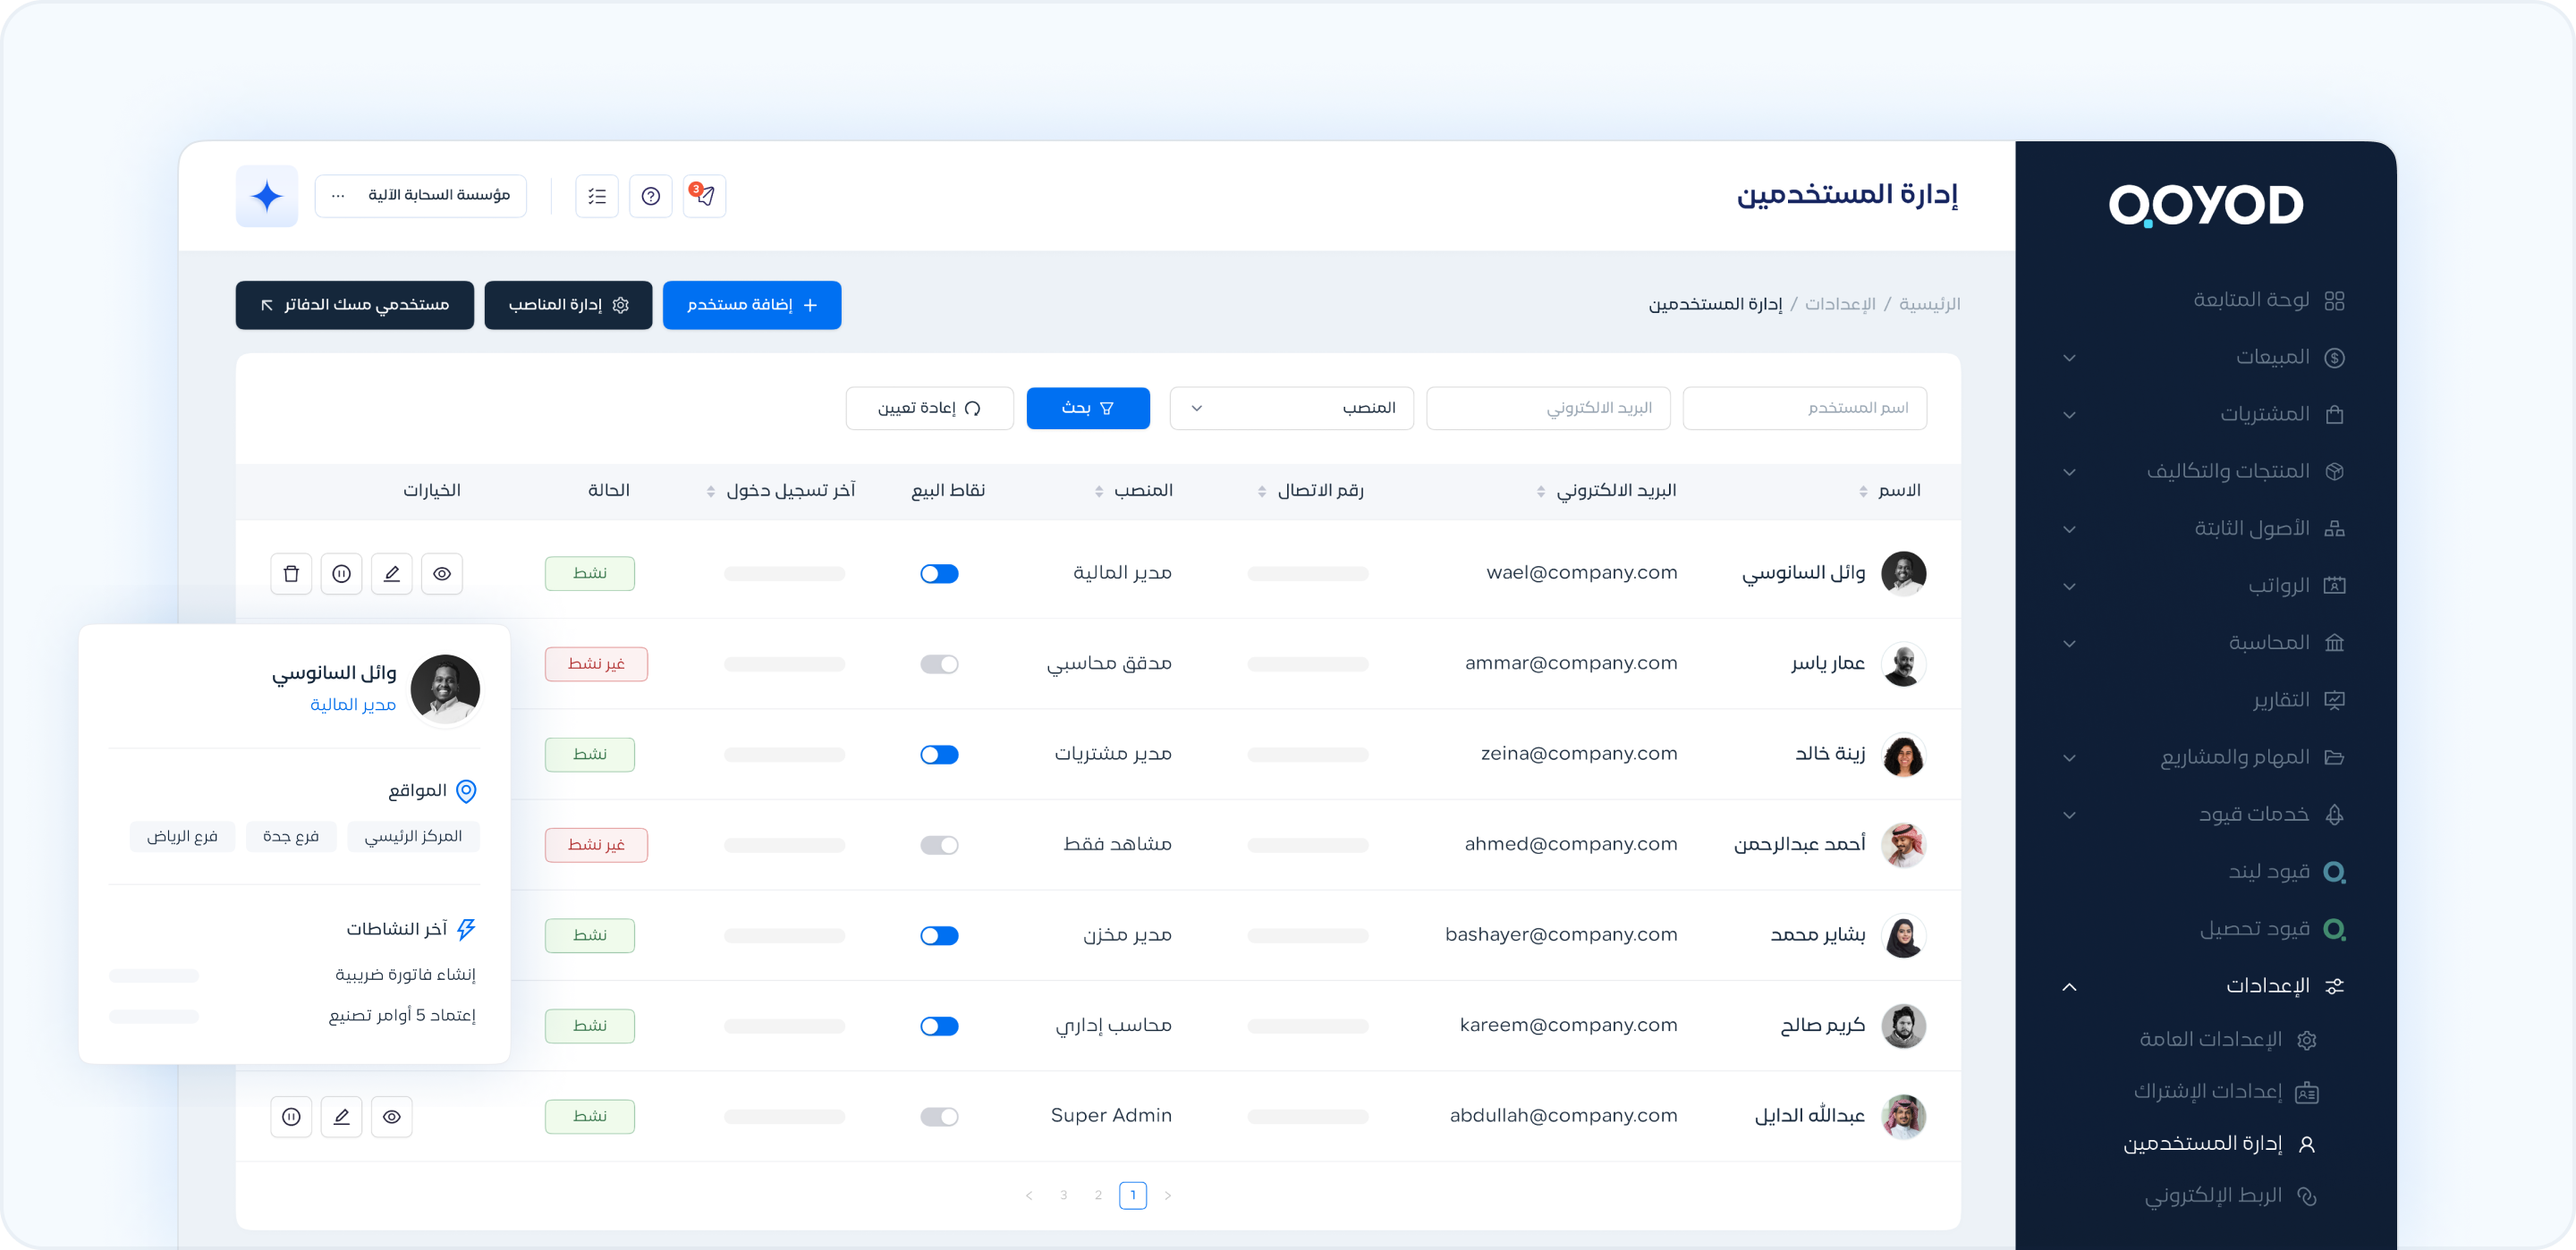
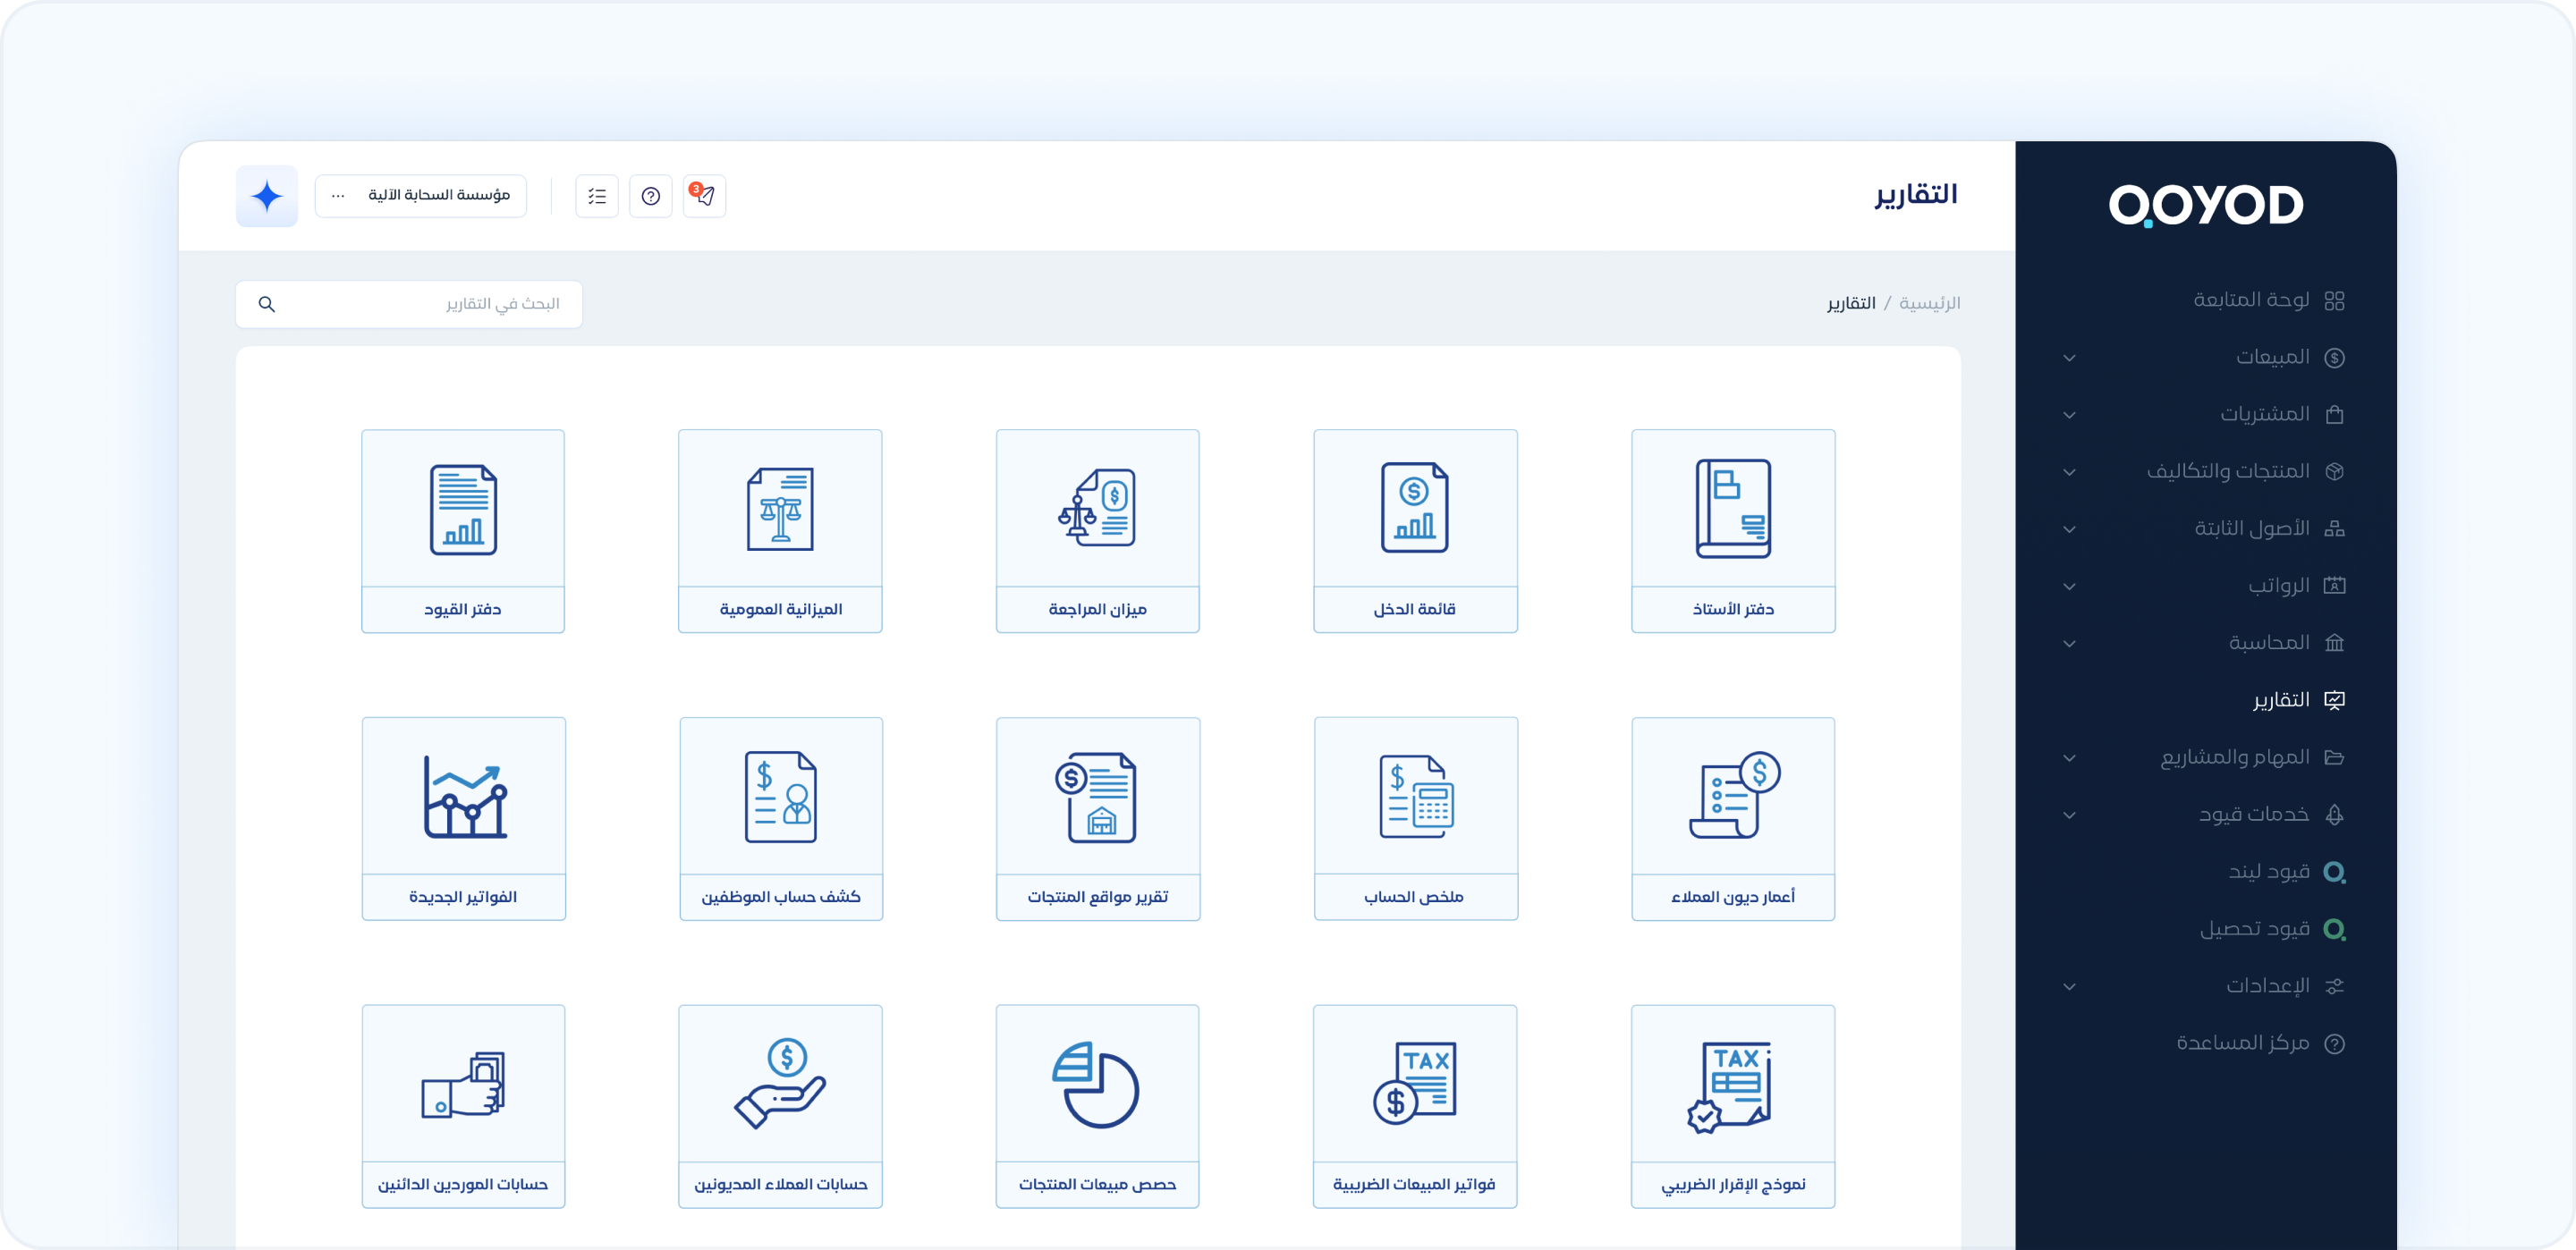
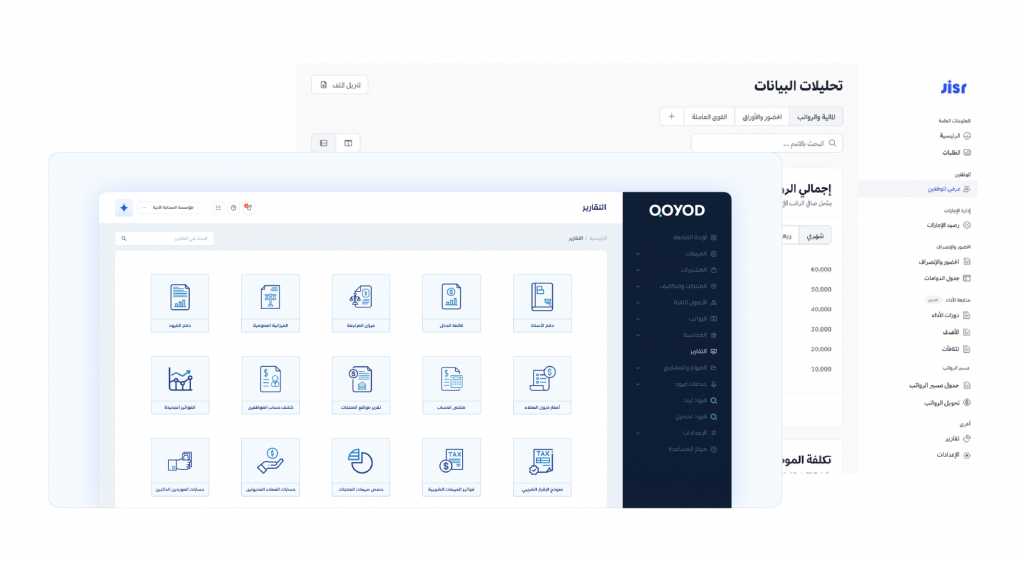
برنامج محاسبي سحابي يساعد أصحاب الأعمال في تسهيل كافة العمليات المحاسبية للشركات والمنشأت، من خلال إدارة المبيعات، المخزون، وإصدار التقارير المالية.
- الخدمات الاحترافية

الخدمات الاحترافية
خدمة جديدة لمساعدة أصحاب الشركات في تنفيذ المتطلبات المالية والمحاسبية مثل مسك الدفاتر والإقرار الضريبي وغيرها.
- برنامج قيود المحاسبي
- التكاملات
- الفاتورة الإلكترونية
الفاتورة الإلكترونية
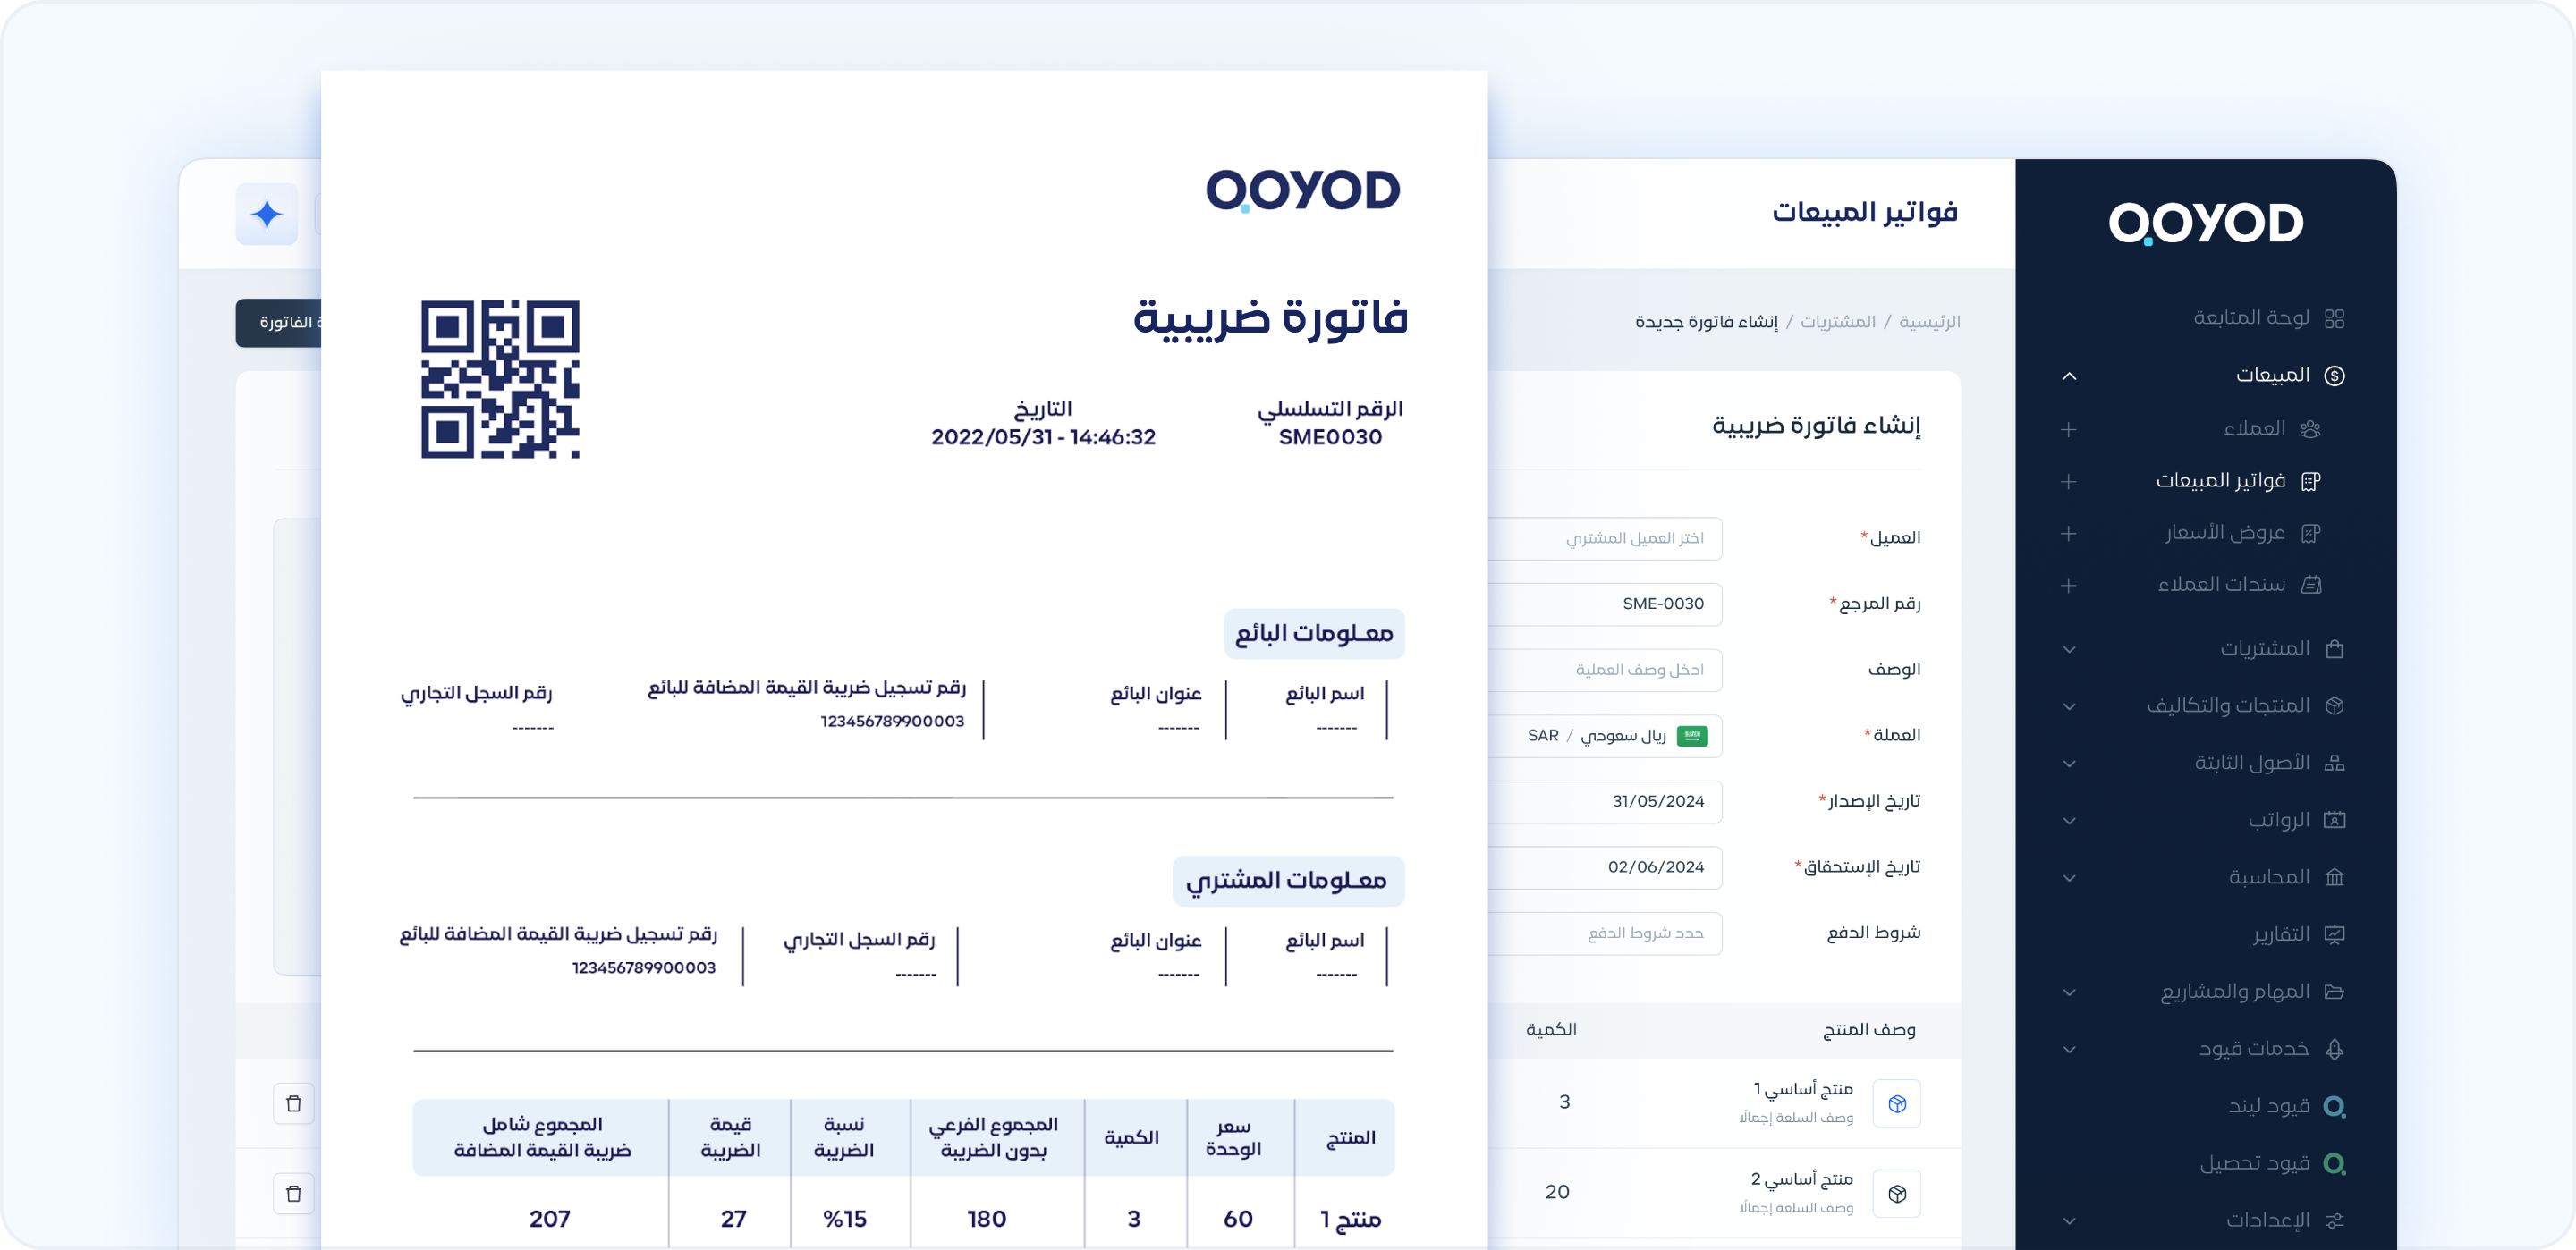
بسّط إجراءات الامتثال الضريبي وإدارة الفواتير الإلكترونية بكل سهولة من خلال التكامل مع هيئة الزكاة والضريبة والجمارك
- التكاملات

التكاملات
ادمج أدواتك المفضلة بسلاسة مع قيود لزيادة إنتاجيتك.
- الفاتورة الإلكترونية
- القطاعات
- قطاع التجزئة

قطاع التجزئة
حلول متكاملة للتغلب على تحديات قطاع التجزئة
- قطاع الإنتاج والتصنيع

قطاع الإنتاج والتصنيع
حلول متكاملة للتغلب على تحديات قطاع الإنتاج والتصنيع
- قطاع الأغذية والمشروبات

قطاع الأغذية والمشروبات
حلول متكاملة للتغلب على تحديات قطاع الأغذية والمشروبات
- قطاع المحاماة

قطاع المحاماة
حلول متكاملة للتغلب على تحديات قطاع المحاماة
- قطاع التأجير

قطاع التأجير
حلول متكاملة للتغلب على تحديات قطاع التأجير
- قطاع السفر والسياحة

قطاع السفر والسياحة
حلول متكاملة للتغلب على تحديات قطاع السفر والسياحة
- القطاع التعليمي

القطاع التعليمي
حلول متكاملة للتغلب على تحديات القطاع التعليمي
- قطاع الخدمات

قطاع الخدمات
حلول متكاملة للتغلب على تحديات قطاع الخدمات
- قطاع العقارات والمقاولات

قطاع العقارات والمقاولات
حلول متكاملة للتغلب على تحديات قطاع العقارات والمقاولات
- قطاع التشغيل والصيانة

قطاع التشغيل والصيانة
حلول متكاملة للتغلب على تحديات قطاع التشغيل والصيانة
- قطاع التقنية

قطاع التقنية
حلول متكاملة للتغلب على تحديات قطاع التقنية
- قطاع التجزئة
- الاسعار
- الموارد
- مدونة قيود

مدونة قيود
اكتشف مقالات ومواضيع ثرية عن المحاسبة وإدارة الأعمال لتساعدك على تطوير مهاراتك ومواكبة التوجهات في عالم الأعمال.
- مركز المساعدة

مركز المساعدة
إذا كنت تواجه أي مشكلة أو لديك سؤال عن منتجات وخدمات قيود، يحتوي مركز المساعدة على مقالات ومقاطع فيديو تعليمية متنوعة لمساعدتك وإرشادك.
- النشرة الشهريه

النشرة الشهرية
اشترك في نشرتنا الشهرية لتحصل على أحدث الأخبار والتحديثات والنصائح القيّمة مباشرة إلى بريدك الإلكتروني.
- أخبار زاتكا
- الشراكات

الشراكات
تعرّف على أنواع الشراكات التي تقدمها قيود
- حاسبة ضريبة القيمة المضافة

حاسبة الضريبة
احسب ضريبتك بدقة وسهولة من خلال حاسبة الضريبة المتقدمة من قيود، التي تساعدك في الامتثال لمتطلبات الزكاة والضريبة والجمارك السعودية
- مدونة قيود
تمارا متاحة الآن في قيود 🎉 اشترك في الباقات السنوية وقسّطها عبر أربع دفعات!


